Making Custom Dice (and other pieces)
I’ve tried every method for producing custom dice I can think of—hand drawn stickers, printer stickers, a label maker, iron on paper—but the best method by far has been spray painting with a plastic stencil.
It takes slightly longer than printer paper stickers or a label maker, but the results look far better.
The Process
I’ve adjusted my process quite a bit, so I’m recording it here for others.
The base coat
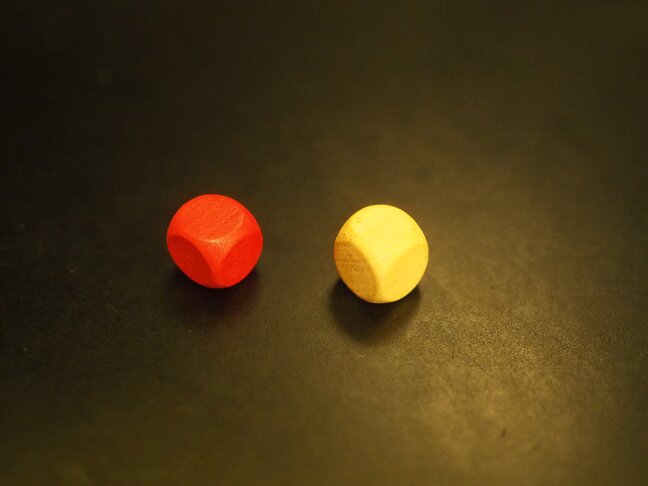
I start with blank wood dice, preferably 14mm, but you can use any size you’d like. Some will be misshapen, and you’ll need to filter any that seem unusable, but for a prototype I don’t mind.
The paint you use will affect how the surface of your dice feels. For the base coat, I like to use satin paints by Rust-oleum.
Painting the dice is simple: Follow the instructions for your paint, paint one side, and then the other.
Prepping the stencil
You need a stencil with small symbols. I use this one, and I’m happy with it.

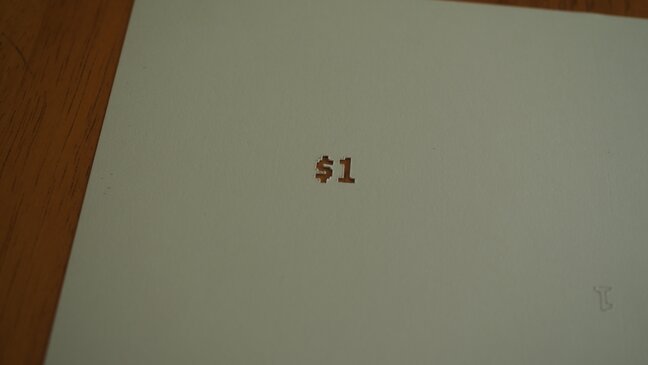
Cut a hole in a sheet of card-stock to protect most of the stencil from paint and prevent other symbols from passing through to the dice. The easiest way to do this is by tracing the intended symbol with a pen on the card-stock and cutting around the tracing.
Now tape the stencil to the card-stock so that your intended symbol shows through.
Alignment
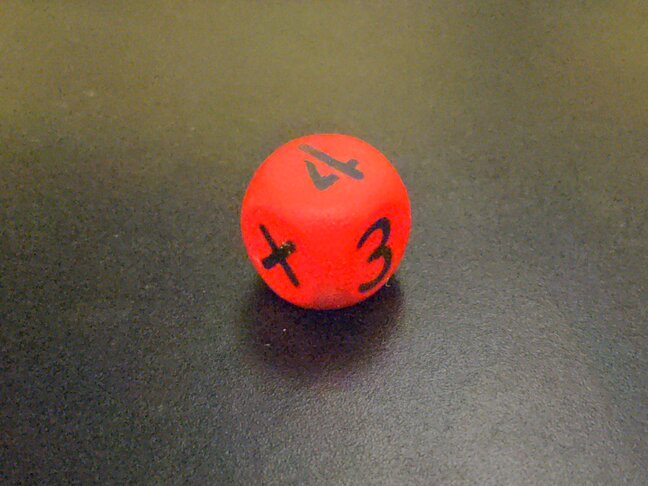
Aligning the stencil with the center of the die-face is the most involved part. I start by using a sharpie to place a dot on the center of the die face (or slightly offset if the symbol requires it). The dot will help to quickly align the stencil and should be painted over by the end.
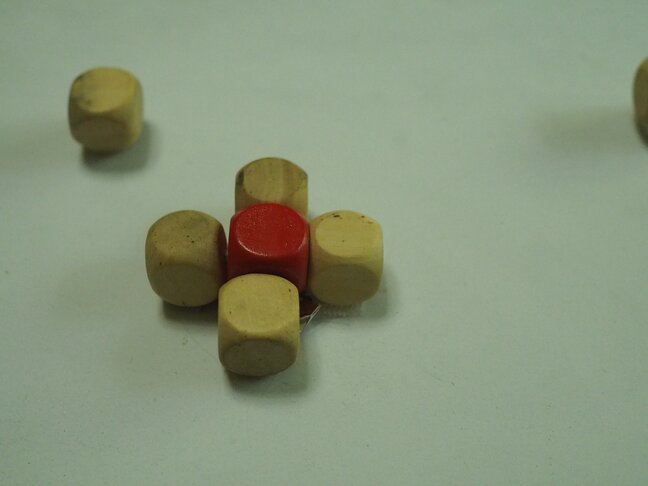
To keep the dice still, I built a platform with card-stock, dice, and a piece of paper towel. I taped the dice to the card-stock to hold the stencil up and the target die in place.
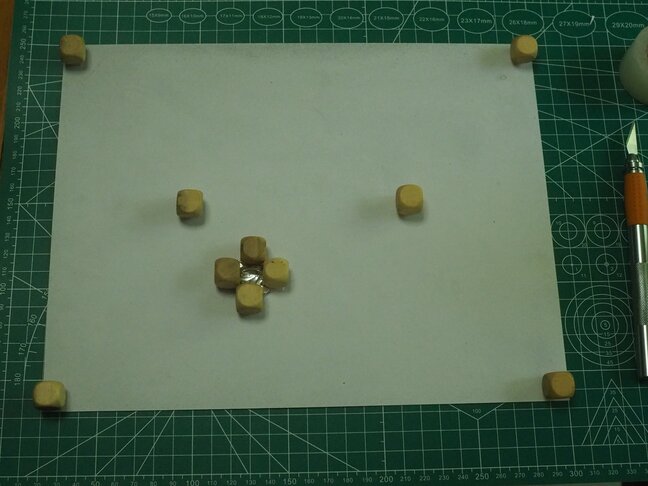
A small piece of paper towel under the target die lifts it just slightly so that the stencil sits flush across the die’s surface.
Once you have the stencil and the platform, the dice painting should go by quick. Place the die with the dotted side up, place the stencil, align it using the dot, and spray through the stencil.
- Don’t over-paint the symbol, or it will bleed.
- You can remove the stencil immediately, but try to lift it straight up.
- Have a paper towel ready to wipe and blot the stencil on occasion.
- Adjust your spray distance if necessary.
- You will screw up a few, but you can always repaint them later.
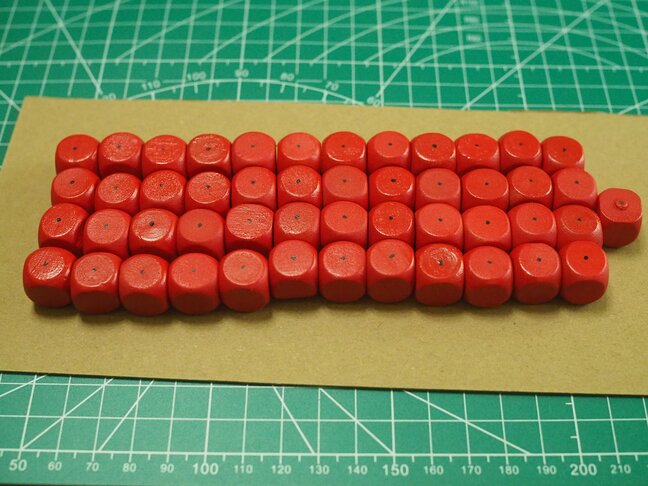
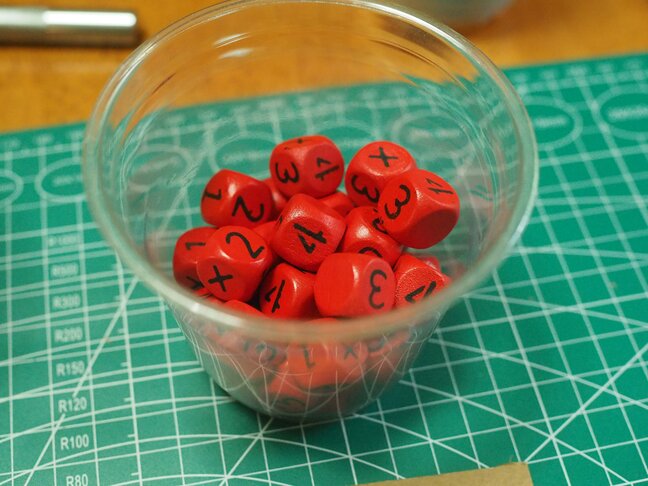
The result and binning
Once you’ve painted every face, you’ll need to inspect the dice for mistakes. I find it’s best to create about 20% more dice than I think I’ll need.
With the mistakes, I either throw them back into circulation to be repainted later or I “bin” them. With binning, the best dice are used for my best prototype—the one I will send to a publisher—while the second best are used for my blind test copies, and the worst (but still usable) are kept for my own copy.
Other Components, Other Methods
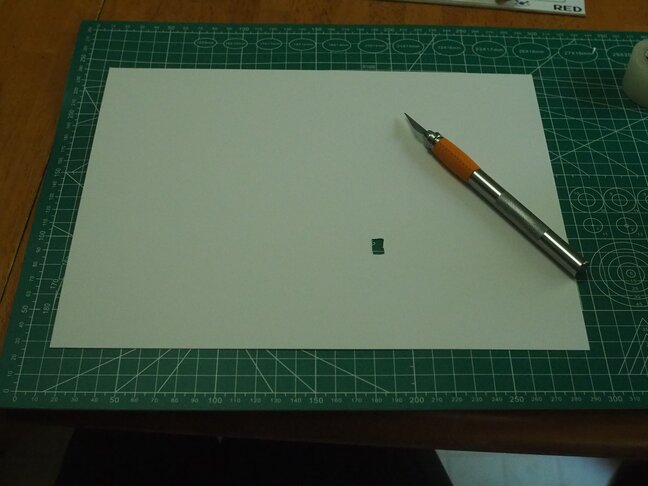
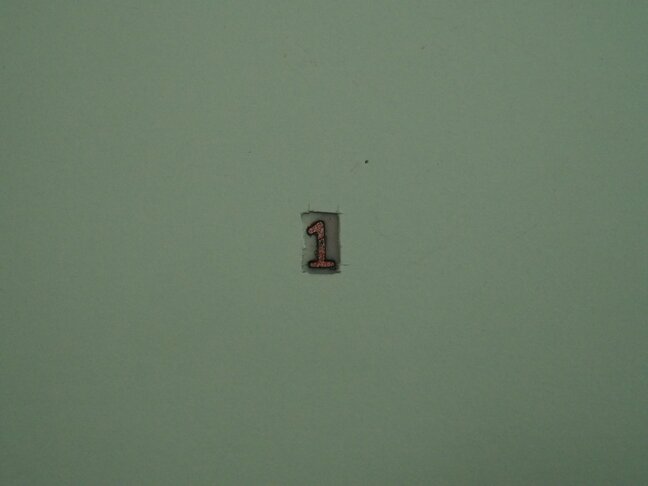
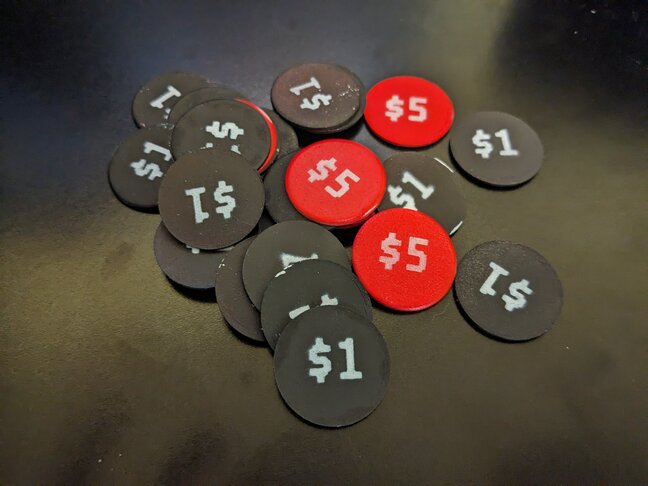
You can spray paint more components than you may realize. Like these chipboard tokens I made:
I own a Cricut, which I occasionally use to make a custom stencil out of card-stock. I wouldn’t necessarily recommend it over a Brother Scan-n-Cut, but I’ve kept it working (with some effort).
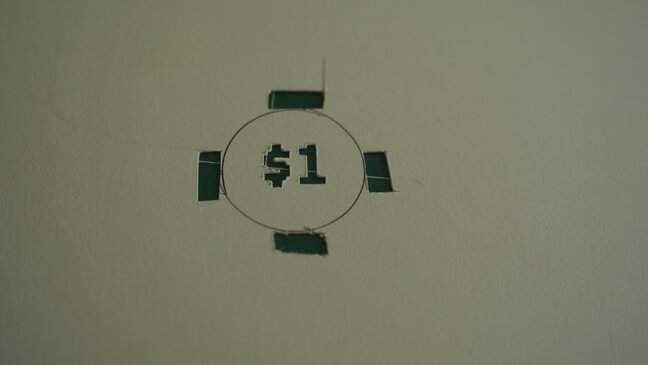
When I’m painting flat objects, I don’t use a platform to hold them in place and I don’t bother with the dot. Instead, I cut “alignment windows” in the card-stock so that I can see if I’m too far off to one side. The windows are slightly further out than the edge of the tokens, such that any paint that passes through them shouldn’t transfer to the token.
Practice
I’ve left out a lot of details that I suspect are easier to learn from experience. The important take away is that building a prototype by hand is a process that is worth developing. The prototype that I built these dice for required 50 dice in each copy, and so far I’ve built 3 different copies. Having a faster process has saved me real time and allowed me to iterate on ideas more quickly.